
| Payload Capsule (in the raw) |
|---|
|
|
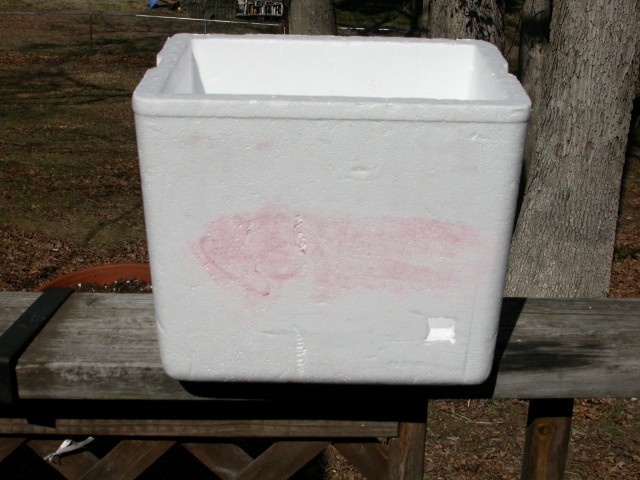
The payload capsule is a syrofoam cooler (would hold about a sixpack). We bought it from a local grocery chain for about $1.25. After we purchased it we noticed that it had actually been used. I don't know if someone brought it back to the store after using it or if an employee borrowed it. You could see the circles in the floor of the cooler from the drinks. We thought that was pretty funny. |
| Payload Chassis |
|---|

|
|
All electronics are mounted on a hinged flight chassis made of foam board. The foam board looks like poster board sandwiched around a foam core about a 1/4" thick. We wanted something that we could easily install into and remove from the capsule without having to connect or disconnect any wiring. We are very happy with this design so far. Pieces of foam board were cut and glued in place with fast setting epoxy to form borders for some of the lighter items that were being mounted to the foam board. These borders along with the tiedown strings hold these items in place. The BasicX computer that is used to control the cameras is held in place by standoffs that go through the foam board And are fastened to hobby plywood glued to the back side of the chassis. The Dakota cameras have foam board borders and a foam board lid to hold them in place and protect them from other items in the payload. The Alinco DJ-S11 transceiver is held in place by the tie down and by a velcro type material mounted to the back of the radio and to the foam board. 1/2 inch cloth material was used to tied down the electronics to the chassis. We plan to put safety pins through each knot on flight day. |
| Payload Chassis (backside) |
|---|
|
|
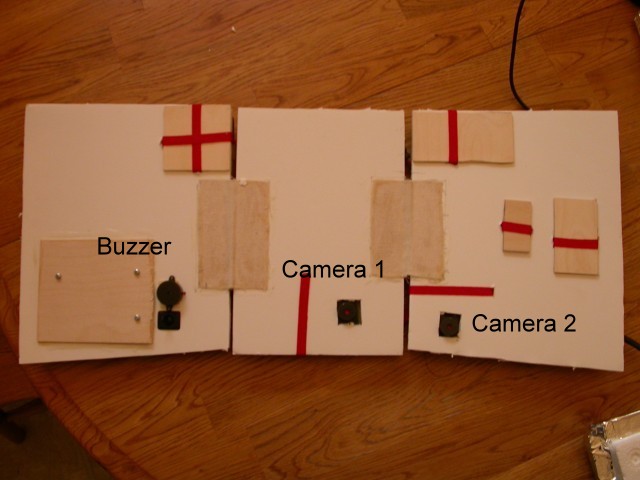
We reinforced the back side of the chassis where tie downs penetrated the foam board. We did not want the tie downs to be able to pull through the board. You can see the lenses of the two cameras sticking through the foam board. A buzzer and a buzzer cutoff switch are also mounted to the back side of the foam board. The buzzer will help us find the payload during recovery. The cutoff switch will allow whoever finds the paylod to kill the buzzer without opening the payload. A sturdy cloth material was epoxied to the foam board to serve as hinges between each panel of the chassis. The cloth material was cut from a nail apron I got from a builder supply. It may have even been free. |
| Payload Chassis Installed into Payload |
|---|

|
|
The chassis is folded and placed into the payload capsule. |
| GPS Installed |
|---|

|
|
The GPS is mounted onto the top panel of the chassis. A metal plate glued into a recess in the top panel is used by the magnet mount in the GPS to hold the GPS in place. The antenna coax goes through a hole in this panel and then leaves the capsule through the lid. |
| Payload Capsule in Harness |
|---|

|
|
A custom harness was created to hold the payload capsule. |
| Radio Preparation - BNC Connector |
|---|

|
|
The factory antenna was removed from the DJ-S11 and replaced with a piece of small coax with an attached BNC connector that we salvaged from another electronic device. Here is where we found details concerning attaching the BNC to the DJS-11: Kansas Near Space Project |
| BNC Connector Completed |
|---|

|
|
Here is the radio with the completed BNC connector. After soldering the coax to the circuit board and verifying there were no shorts, the attachment point was covered in silicone sealer to prevent strands from the coax from coming loose and shorting the antenna to other circuits. A strain relief was also added by looping a nylon tie through holes drilled into the transceiver's case and tying the coax down to the exterior of the case near the hole where the coax leaves the transceiver. |
| TNC Ready to Test |
|---|
|
|
|
Here is what the GPS, TNC and Radio looked like when we did our initial testing. The TNC has its own 5V regulator. Another 5V regulator was used to power the GPS. The radio ran on its internal batteries. With this configuration, we played with programming the TNC and setting levels for the audio into and out of the TNC and radio. OpenTracker info can be obtained here: N1VG OpenTracker Site |
| Switch Box |
|---|
|
|
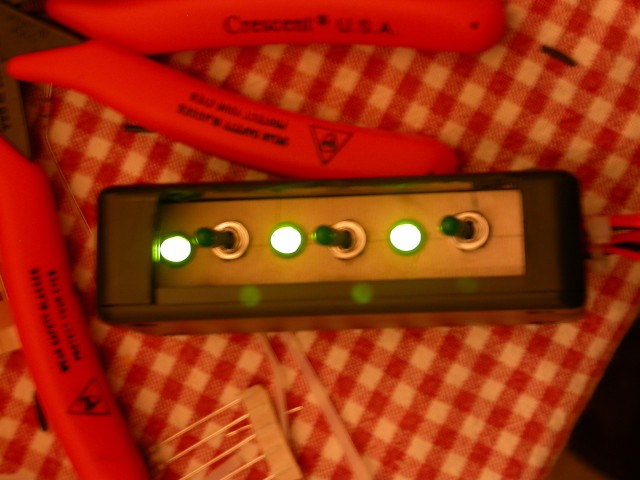
A switch box with recessed switches and LED power indicator lights was built so we could easily control power to all devices. A 3V source and a 9V source are required for this switch box. The 3V source powers the two cameras. The 9V source goes to the BasicX board and the TNC. Both devices have their own 5V regulators. In the final configuration, the GPS gets power off of the 5V regulator built into the OpenTracker TNC. |
| Glueing Mylar to the Payload Capsule |
|---|

|
|
This is where we were getting ready to glue the mylar space blanket material onto the cooler. 3M spray adhesive was sprayed onto the cooler and the mylar. The mylar was then attached to the cooler after the glue had set for about a minute. |
| Payload Capsule Covered in Mylar |
|---|

|
|
In this picture the mylar blanket material has been installed. |
| Balloon Filler device |
|---|

|
|
This is the device we built to fill the balloon with helium. It has a 1/4" inner diameter fitting on one end where the hose from the helium tank will connect. The device was made from 1-1/2" PVC pipe (Schedule 40). A ball valve is used to seal the filler device so the helium hose can be removed without the balloon losing gas. An anchor strap was made from 1" strap material to be used to hold the balloon down while it is being filled. The PVC was glued together using PVC cement and then as definite overkill all seams were sealed with silicone sealer. We designed our filler device based on one we saw on the following site: Vienna Wireless |
| Balloon Filler Device End Cap |
|---|

|
|
Here we were making the end cap for the filler. The part of the brass connector penetrating the PVC endcap is identical to the part you can see. The brass piece on the left was then threaded onto the half in the interior of the cap. We sealed this assembly with silicone sealer. |
| Payload Adornments View 1 |
|---|

|
|
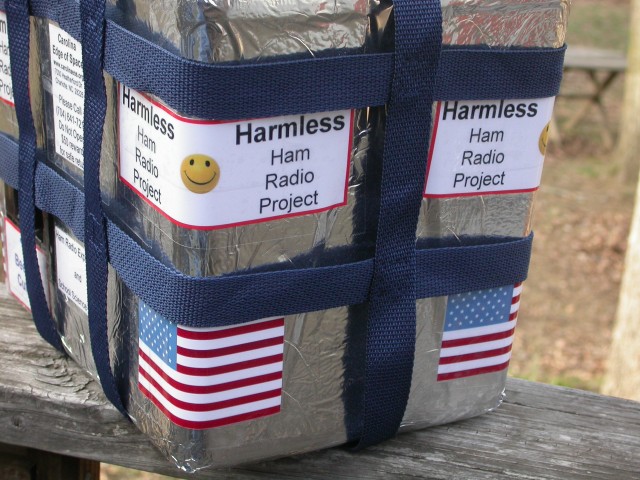
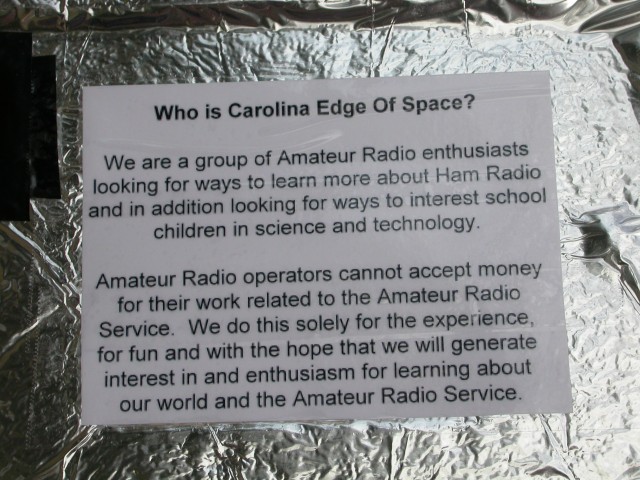
Here is the end result of about 3 months work. |
| Payload Adornments View 2 |
|---|
|
|
Side View |
| Payload Adornments - View 3 |
|---|
|
|
Top View |